Creating Agents
Every agent starts in the agent editor. Open it from the agent gallery by selecting New Agent, or duplicate an existing agent and modify it.
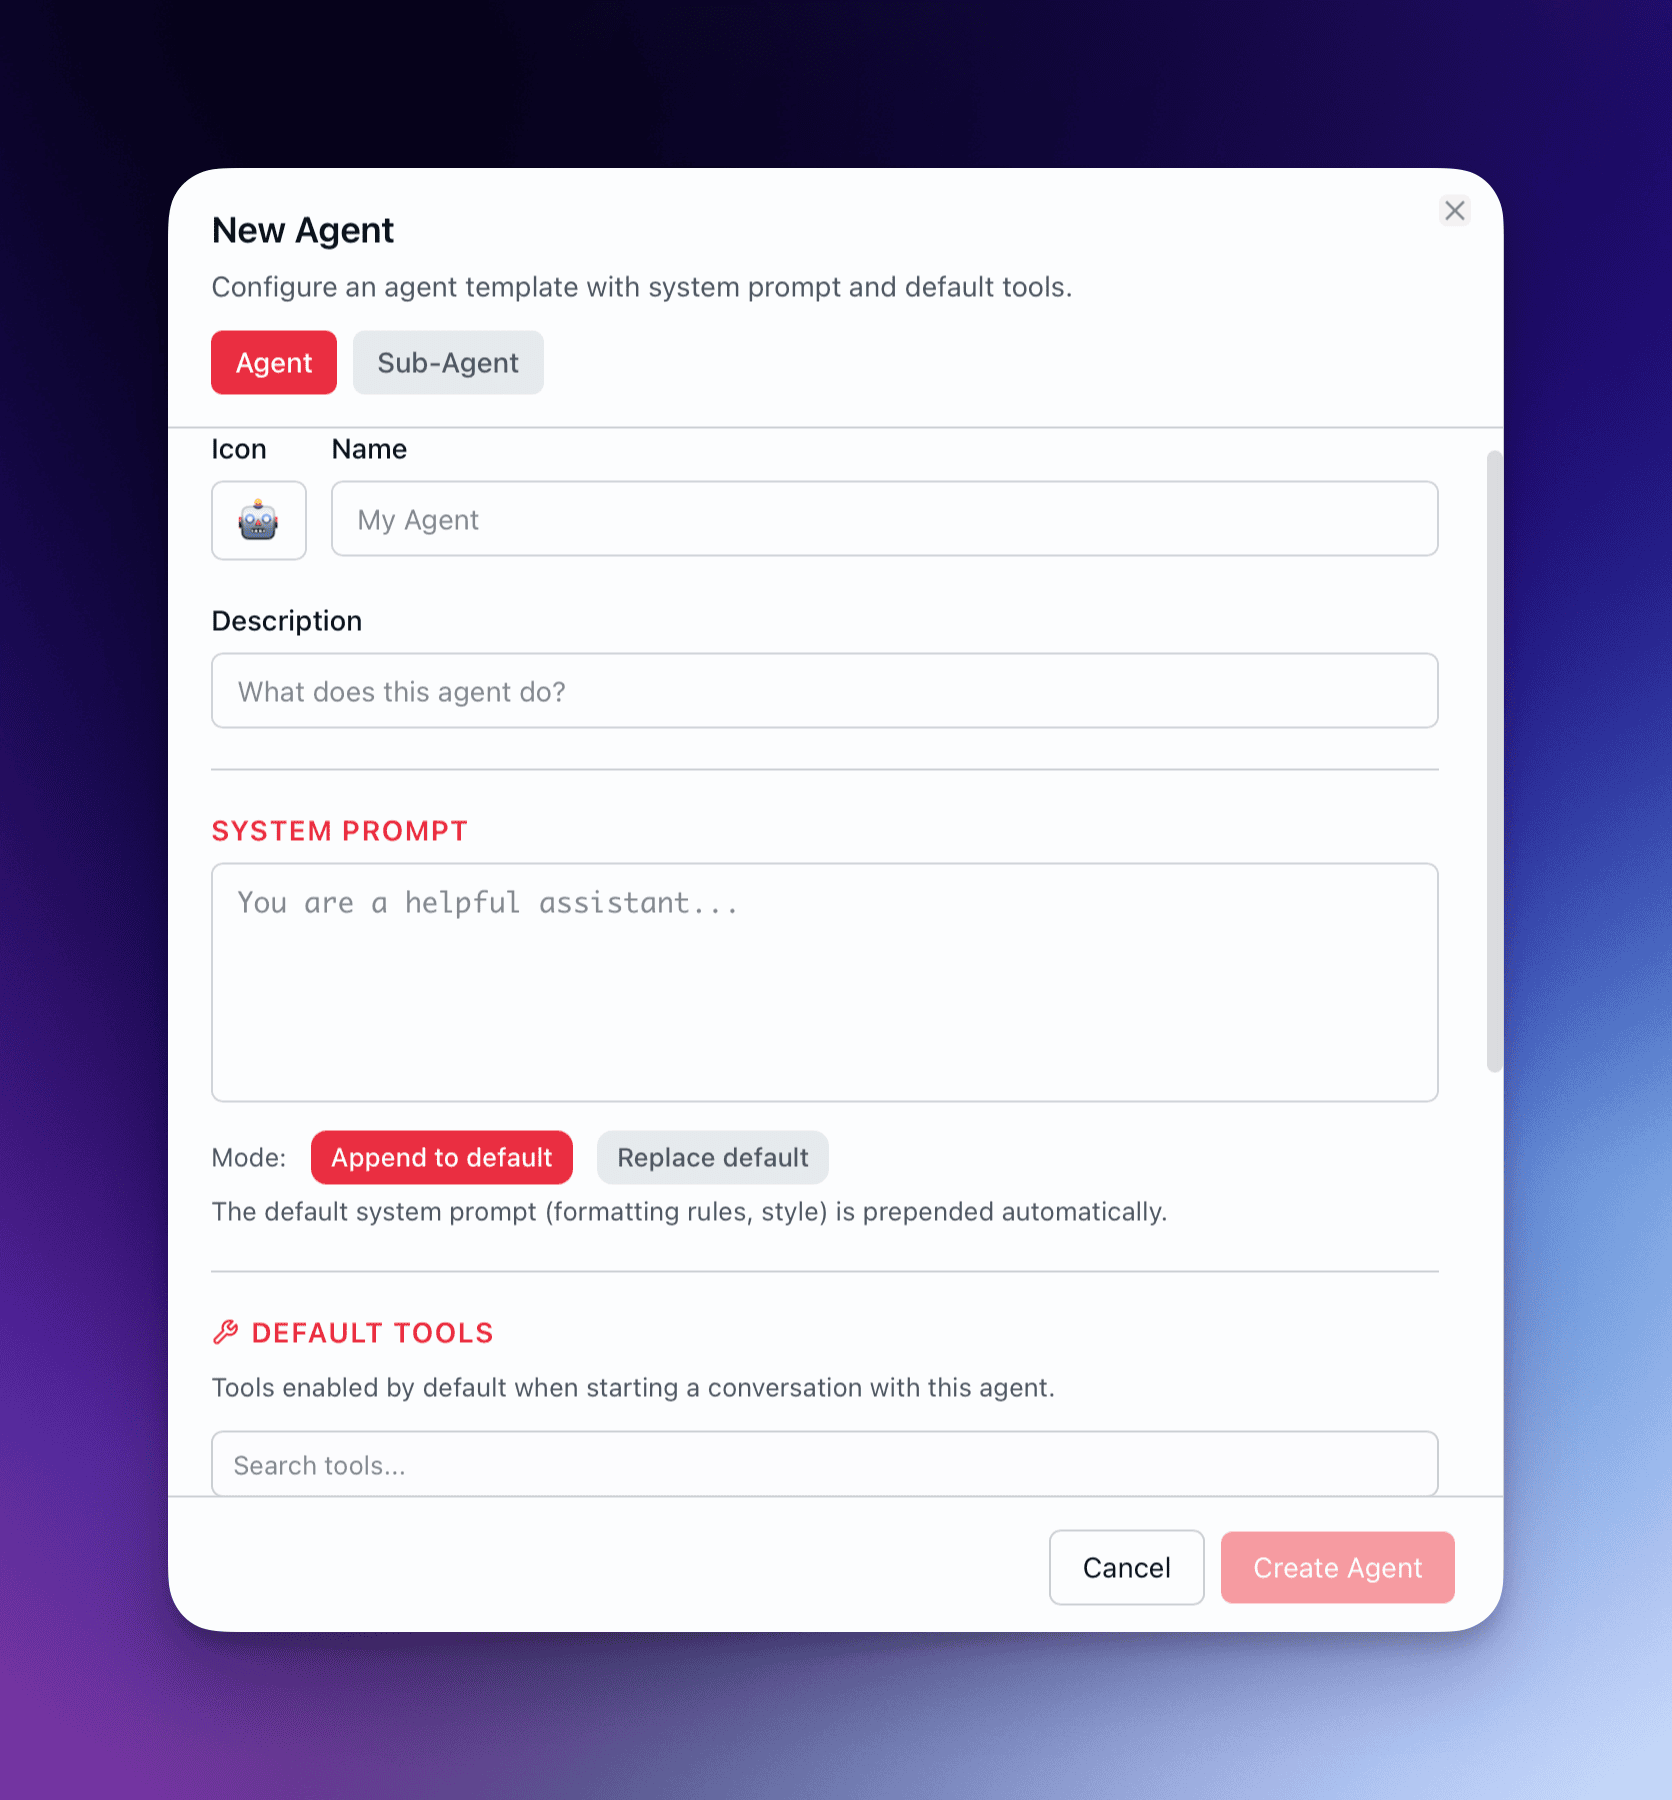
Define Identity
Section titled “Define Identity”The top section of the editor captures what your agent is and how it appears in the gallery.
| Field | Purpose |
|---|---|
| Name | Display name shown in the gallery and @mention selector |
| Description | Short summary of what the agent does — shown on hover and in search results |
| Icon | Emoji picker — choose an icon that signals the agent’s role at a glance |
| Color | Accent color for the agent’s card and conversation header |
| Category | Group agents by function (e.g., “Development”, “Research”, “Writing”) |
| Favorites flag | Pin the agent to the top of the gallery for fast access |
| Sort order | Numeric position within a category |
Write the System Prompt
Section titled “Write the System Prompt”The system prompt is the core directive. It accepts full markdown formatting — headings, lists, code blocks, bold/italic emphasis.
Two modes control how the system prompt interacts with the conversation:
- Append mode — adds the agent’s system prompt after any existing system-level context. Use this when agents operate within a conversation that already has instructions.
- Replace mode — overrides the existing system prompt entirely. Use this when the agent needs full control over its behavior with no inherited context.
System Prompt Guidelines
Section titled “System Prompt Guidelines”- State the agent’s role in the first line: “You are a code reviewer specializing in TypeScript security patterns.”
- Define constraints explicitly: “Do not suggest changes to test files unless the test itself is broken.”
- Specify output format when the agent feeds into other agents or tools: “Return your analysis as a JSON object with fields:
summary,issues,severity.” - Avoid vague directives like “be helpful” — every sentence should change the agent’s behavior.
Assign a Model and Provider
Section titled “Assign a Model and Provider”Each agent can target a specific model and provider combination, or inherit the conversation default.
- Explicit assignment — select a provider (OpenAI, Anthropic, Google, Ollama, or any configured provider) and a model from that provider’s available list.
- Inherit — the agent uses whatever model the conversation is set to. Useful for general-purpose agents that should adapt to the user’s current preference.
Configure LLM Parameters
Section titled “Configure LLM Parameters”Fine-tune generation behavior per agent:
| Parameter | Range | Guidance |
|---|---|---|
| Temperature | 0.0 – 2.0 | 0 for deterministic/factual, 0.3–0.7 for balanced creative work, 1.0+ for brainstorming |
| Max tokens | Model-dependent | Set explicit limits for agents that should produce concise output |
| Additional parameters | Provider-specific | Top-p, frequency penalty, presence penalty — passed through to the model API |
Select Tools
Section titled “Select Tools”Tools define what the agent can do beyond generating text. The tool selector shows 3 categories:
- Built-in tools — file operations, web search, code execution, image generation, and other capabilities bundled with QARK.
- MCP tools — tools exposed by connected MCP servers (databases, APIs, custom integrations).
- Agent-tools — other agents that have been configured as callable tools. See Agent-as-Tool for details.
Select only the tools the agent needs. A code reviewer does not need image generation. A research agent does not need file write access. Focused tool sets produce more reliable behavior.
Set a Context Strategy
Section titled “Set a Context Strategy”The context strategy determines how the agent manages its context window across turns:
| Strategy | Behavior | Best for |
|---|---|---|
| None | Zero history — only the system prompt and current message are sent | Stateless tools, pipeline stages, Sparks |
| Auto-compact (default) | Automatically summarizes older messages when context reaches 70% of the window | Research tasks, long-running investigations |
| Last N | Retains only the last N message pairs | Quick iteration, code refinement |
| Token budget | Hard token ceiling — fills from newest messages backward | Cost-sensitive deployments, predictable per-turn costs |
| All | Sends entire conversation history with no filtering | Short conversations where full fidelity matters |
For a complete breakdown of all six strategies, see Context Strategies.
Test Before Saving
Section titled “Test Before Saving”The editor includes a test panel. Send messages to the agent in its current configuration — system prompt, tools, model, parameters — without saving. Iterate on the system prompt and tool selection until the agent behaves as expected.
Testing uses your actual model configuration. Token usage during testing counts against your provider quotas.
Save and Organize
Section titled “Save and Organize”Once the agent performs as intended:
- Set the favorites flag if you want it pinned to the top of the gallery.
- Assign a category and sort order to place it logically among your other agents.
- Select Save. The agent is immediately available in the gallery and the @mention selector.
Agents can be edited at any time. Changes apply to new conversations — existing conversations retain the agent configuration they started with unless you reassign the agent.
Agent colors use hex codes (any value), and icons use emoji. Both appear in the gallery cards and conversation headers.